
From Idea to App: lovable.dev + Supabase
A hands-on walkthrough of how I used lovable.dev to build a web app, integrated Google Auth, and connected Supabase — all with minimal effort and a whole lot of love.

Introduction
I stumbled upon lovable.dev — and if you haven’t tried it yet, stop reading and go explore it now. If you’re a PM, this tool is a must-have in your kit. From rapid prototyping to building full-fledged internal tools, it’s seriously impressive.
I started with the obvious: building a static website for my portfolio. That soon evolved into creating a fully functional application.
Web App Idea
I’m a task master. I’m driven by tasks. Any project that needs to get done gets broken into tasks, due dates, milestones, and timelines. This gives me clarity and predictability.
You might think: “Aren’t there a zillion apps for that?” Yes, there are. But my better half doesn’t like installing apps on her phone. It’s primarily a device for consumption — she doesn’t operate from her phone. Honestly, neither do I. Guess that’s my g-g-g-generation… if you know, you know.
So, I needed a simple web app for managing tasks — something with a kanban layout, accessible via browser, and secure.
Aptly Named: lovable.dev
With literally a single prompt, I had a working prototype. There’s no way you won’t love it after your first attempt at building something.

To meet my requirements, I needed:
Authentication (AuthN): Google sign-in to protect information behind a session
Centralized Storage: So that data isn’t local to my device (though that's also an option)
The good news? Lovable integrates seamlessly with Supabase, which makes Google Auth setup a breeze.
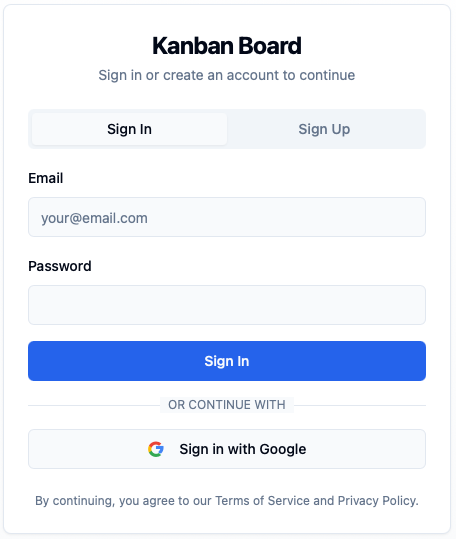
With just one prompt, you’ll get a login screen like this — ready to go.
Google Cloud Setup
To enable Google Auth, you’ll need a Google Cloud account. I prefer this route because it’s just easier. Supabase provides excellent instructions on how to do this.
Create a new project in Google Cloud
Configure the OAuth consent screen
Next, you’ll need to create a new OAuth client:
For Authorized Origin URI, use the URL generated by lovable for your app.
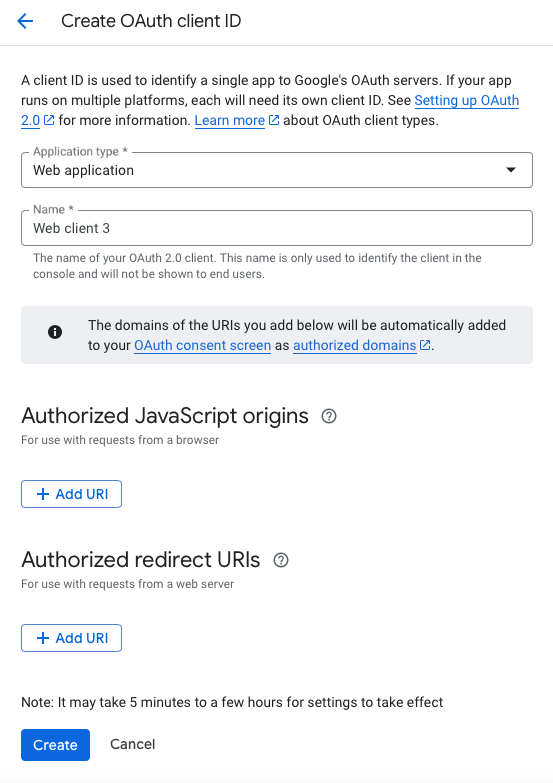
⚠️ Don’t use the preview URL. If you’re following best practices, create a separate OAuth client for the preview environment.Example:
https://yourappname.lovable.appFor Authorized Redirect URIs, copy the URI provided by Supabase (we’ll get to that next).
Supabase Setup
Now, connect your lovable app to Supabase.
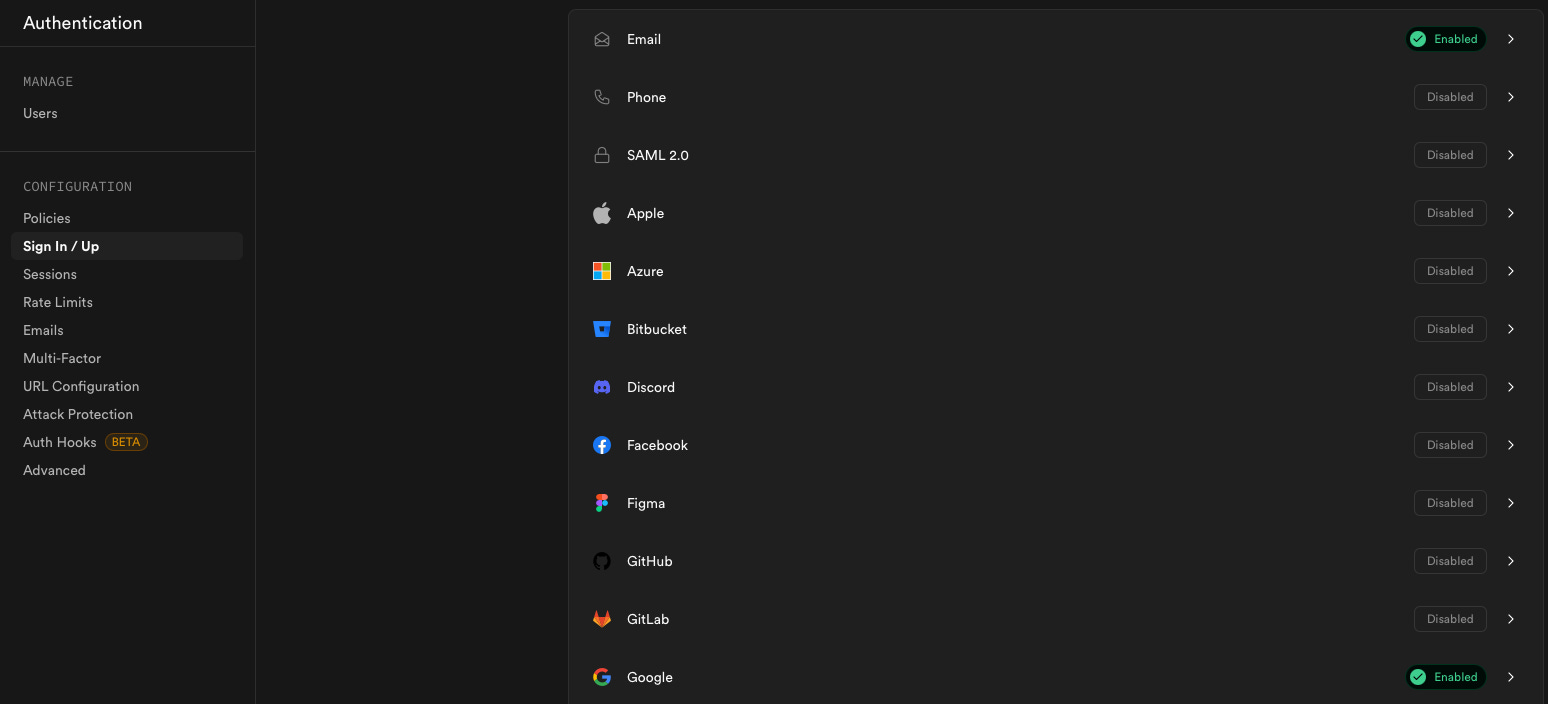
Step 1 – Enable Google as an Auth Provider
In your Supabase project, navigate to Authentication > Providers, and enable Google.
Step 2 – Configure Google Sign-in
Copy over the Client ID and Client Secret from the Google Cloud OAuth client you created earlier.
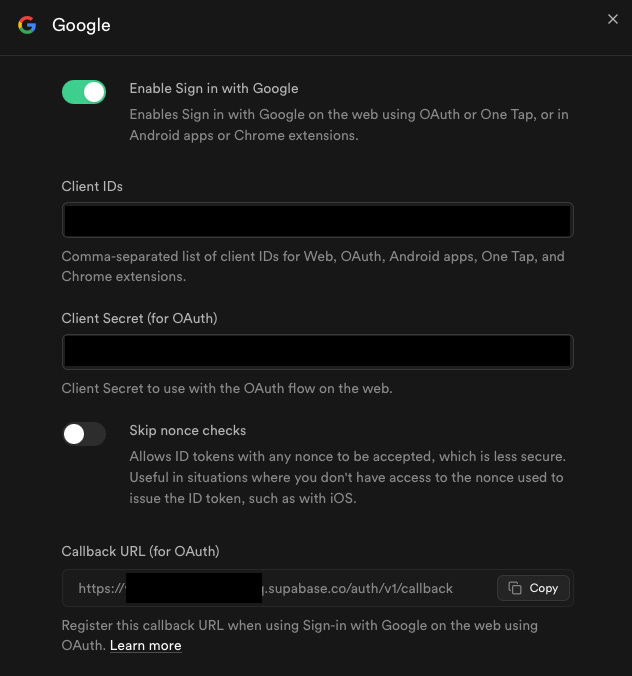
Supabase will generate a callback URL — copy this and paste it back into your Google Cloud configuration under "Authorized Redirect URIs".
✅ Don’t forget: Copy the Client ID and Secret from Google Cloud back into Supabase to complete the loop.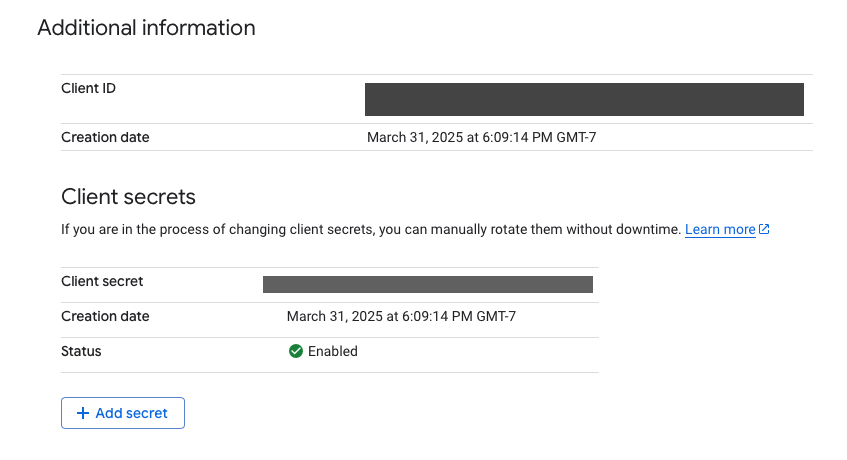
You’re All Set!
That’s it — you're ready to rock and roll 🎸. Give it a shot, and let me know what you think in the comments below!